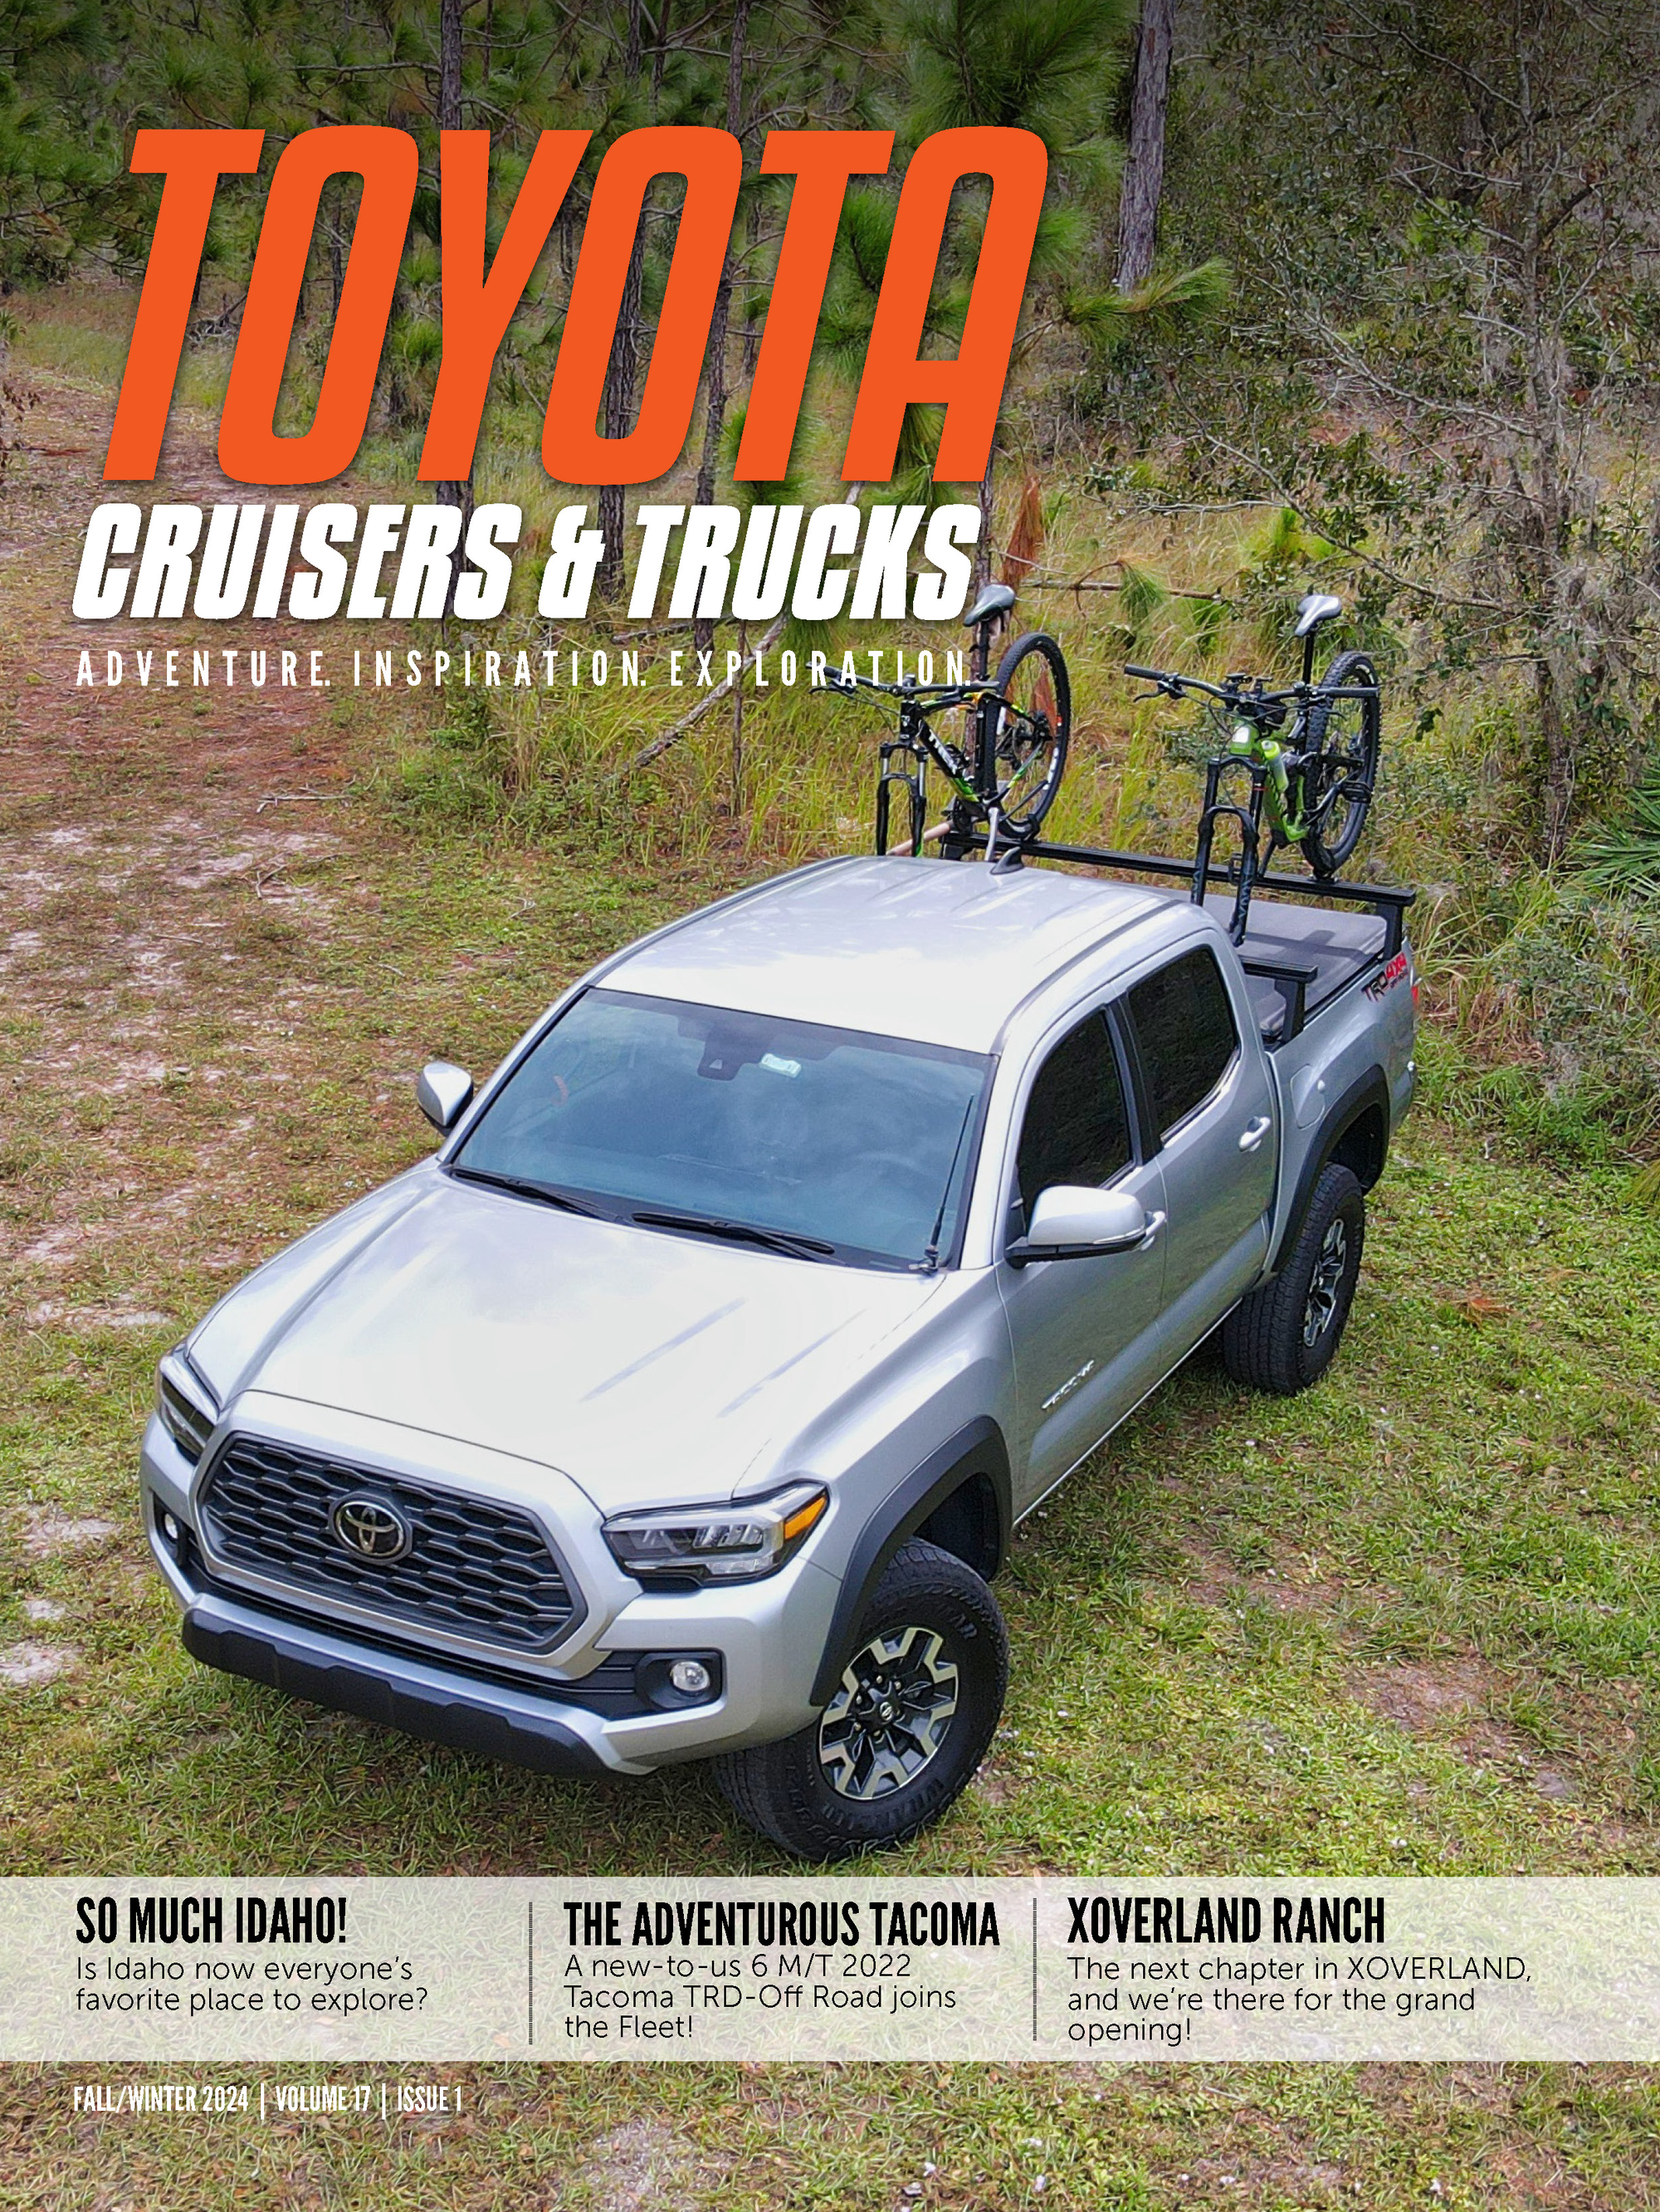
Although the installation is not technically demanding, the process is time consuming and I would give yourself 4-6 hours for the installation. Tools used: Power steering fluid, socket set, pliers, drill and drill bits, self-tapping screws, angle grinder with cutoff wheel, hole punch, soldering tools, zip ties, wire crimps, and various wire connectors (for accessory wiring).
Outback Proven has put together a great kit to convert your Toyota Tacoma into a dual battery setup. Providing all parts needed in the installation, they really made this install easy, time consuming, but easy.
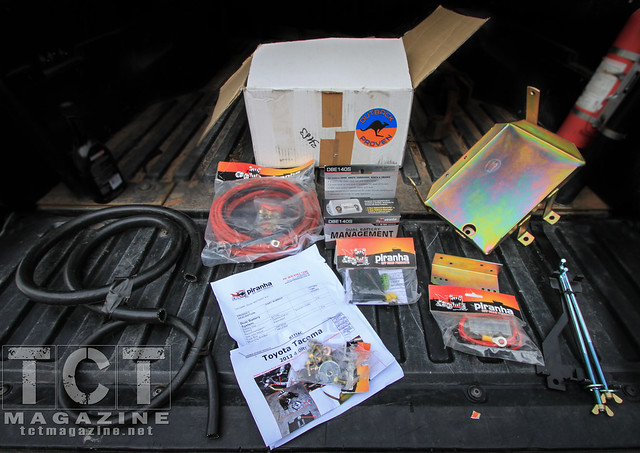
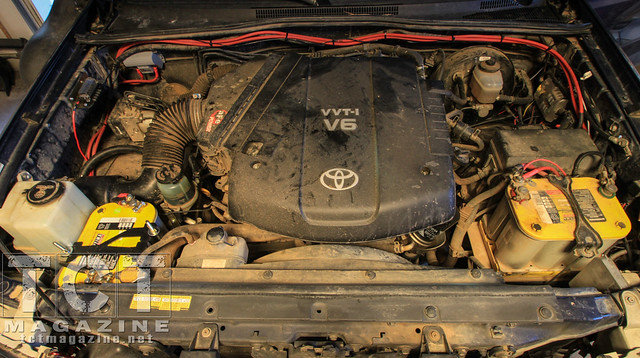
Engine bay before the operation did not have much open space to begin with, but the design of the Piranha kit utilizes common areas that are available in the Tacoma engine bay.
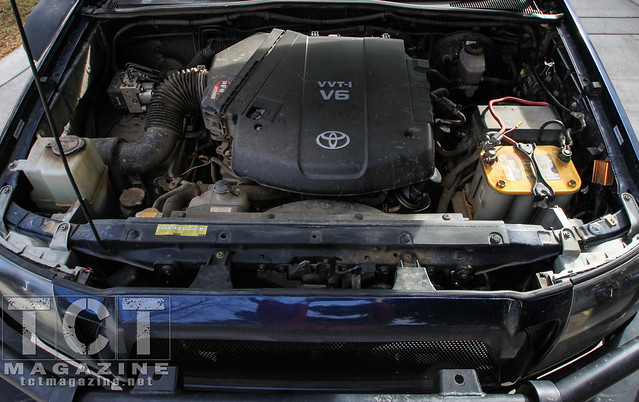
Before getting too deep into the project, we found a suitable home for the Piranha auxiliary fuse box mount.
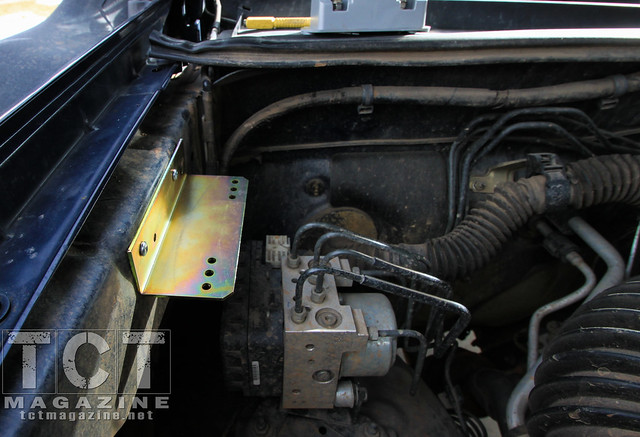
The secondary battery will have a new home where your current power steering fluid reservoir sits. This will be your working area for a while.
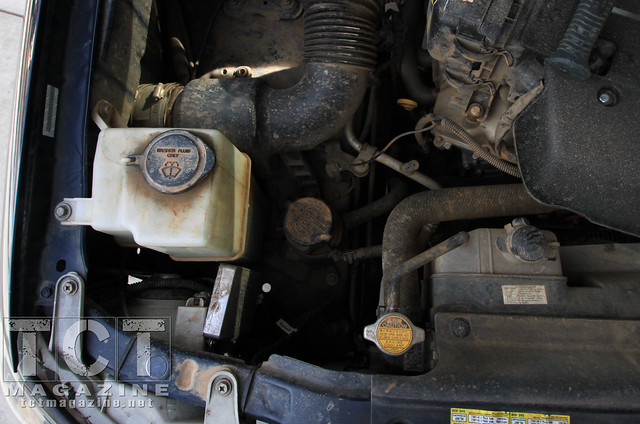
To gain access to the area, you will need to unbolt your windshield washer fluid reservoir. There is no need to remove the reservoir to complete this installation.
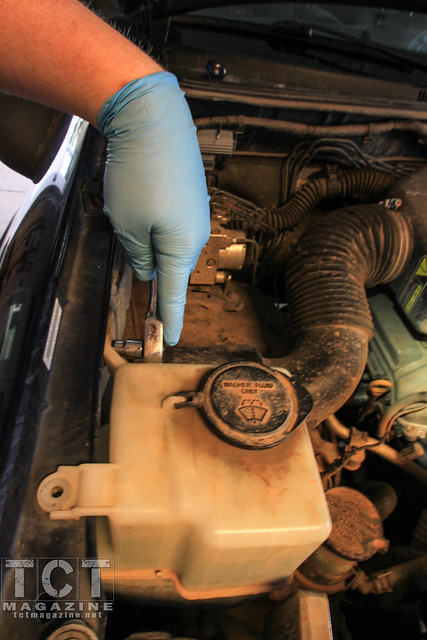
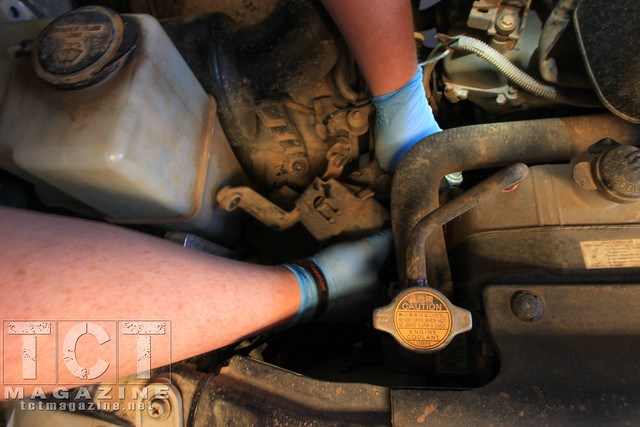
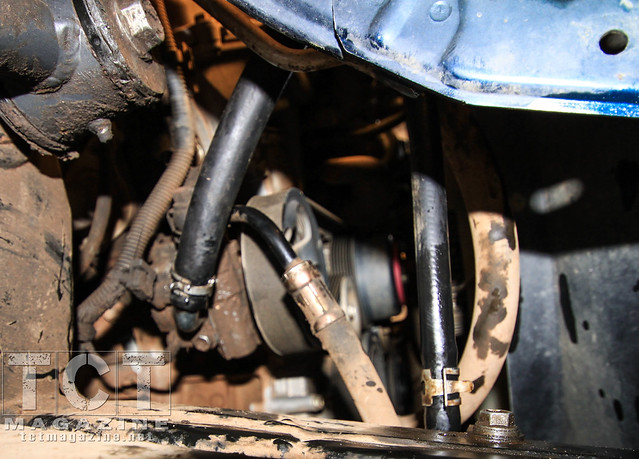
The next steps will be a bit messy. Make sure you have something ready to catch power steering fluid that will come out as you remove the power steering reservoir and lines.
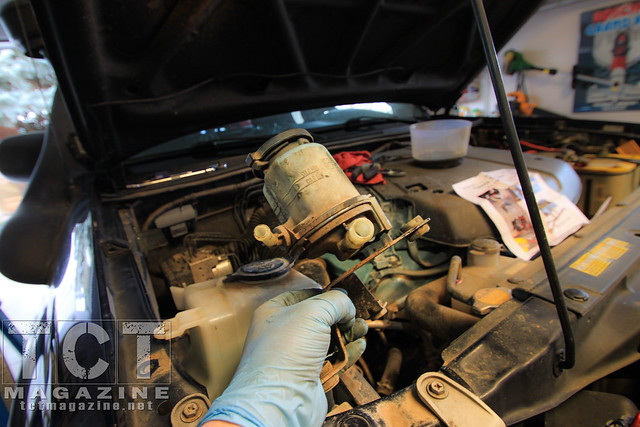
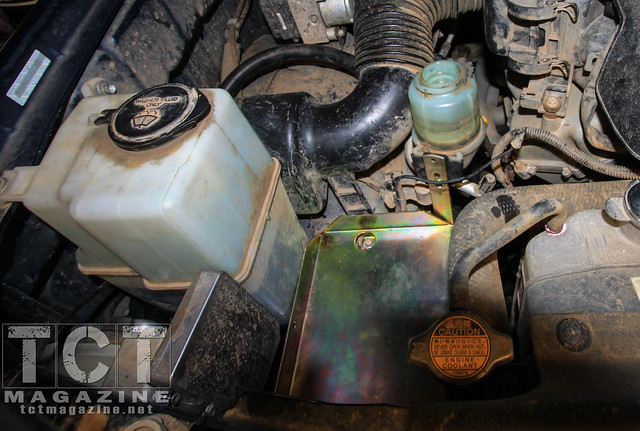
Here is the reservoir attached to the factory mount. You will need to modify the mount in order to work with the Outback Proven kit. More on this later.
Using the provided power steering hoses, exchange the factory hoses with the provided hoses. Longer hoses are needed to reach the reservoir’s new location.
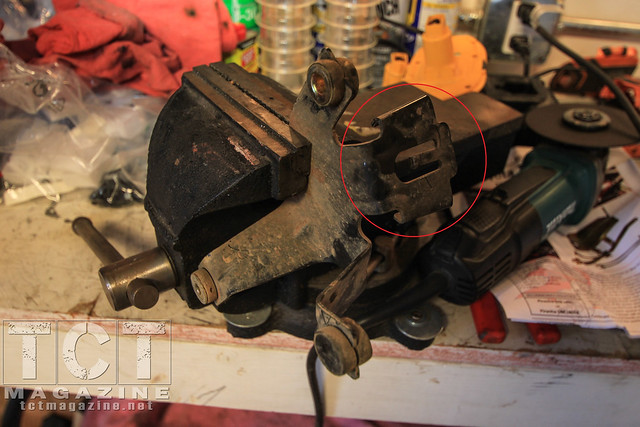
Now back to the factory reservoir mount. Using your favorite cutting device (we used a grinder and cutoff wheel), remove the flat mounting surface the reservoir used to mount to (circled in red). This will be modified to work with the Piranha battery cage provided in the kit.
Related Articles
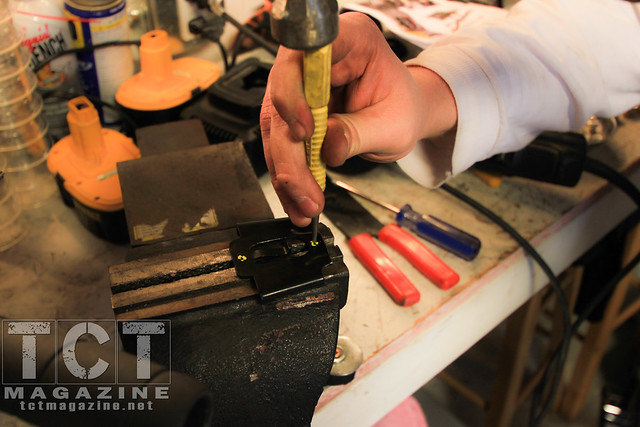
With the mounting plate removed, two holes are required to be drilled to mount onto the new battery mount.
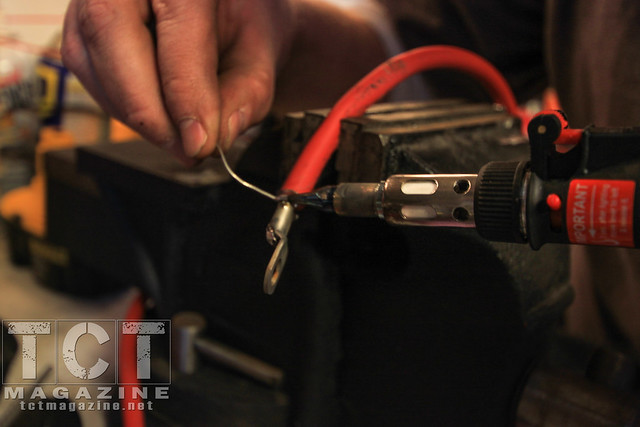
Outback Proven provides a good amount of battery wire that will be used in connecting the main battery to the isolator and over to the secondary battery. The wire will need to be cut to length and terminal ends will need to be connected. The kit includes terminal ends that can be used for this. We suggest soldering the ends to ensure solid connection for years to come.
With the reservoir mount modified, it can be attached to the battery mount. The battery mount takes some tricky maneuvering to set in right, but with some patience and maybe some bloody knuckles, you’ll have a solid mount where your secondary battery will sit.
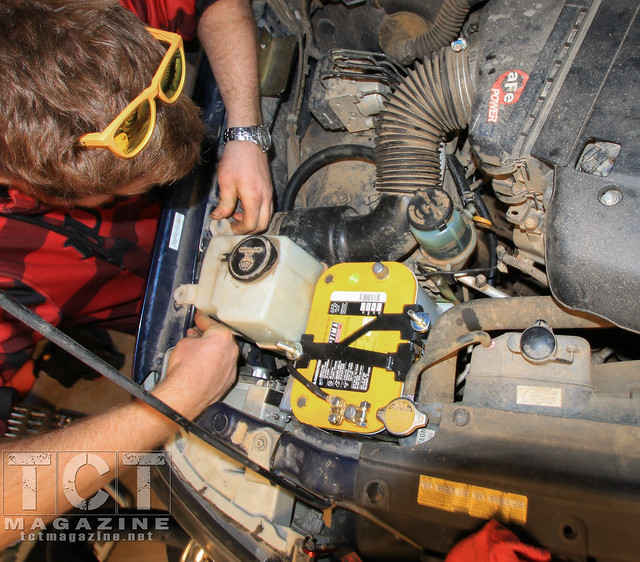
With the battery installed, reinstallation of the removed parts can continue. We left the washer fluid reservoir loose until this step to allow us room to feed our ground wire and power steering hoses behind. The power steering fluid can also be refilled at this point. An extra set of hands is helpful at this time to properly fill the fluid. Add fluid, then rotate your steering wheel back and forth, lock to lock, allowing the air in the lines to work its way out. Do not let the fluid get low as you are doing this. When the level remains constant, fill to the lines indicated on the reservoir and secure the cap. This is also a good time to make sure your power steering fluid hoses are routed in a manner than is acceptable for your future engine bay mods.
At this point, the hard part is over. Now it’s time to mount the DBE140S management system to your firewall and start running your power cables from each batter to the DBE140S. There will be a ground wire that you will need to find a solid grounding location for upon installation.
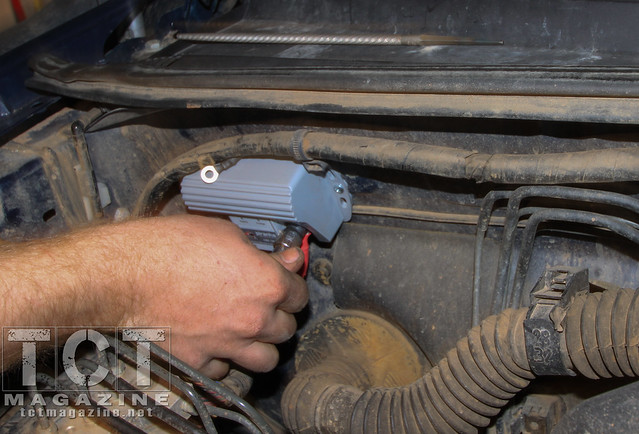
Here you can see our final setup of the new hardware. The management system on the firewall, auxiliary fuse block on the side (bottom left), new power steering hoses re-routed to the new reservoir location, and the secondary battery between the washer fluid reservoir and radiator.
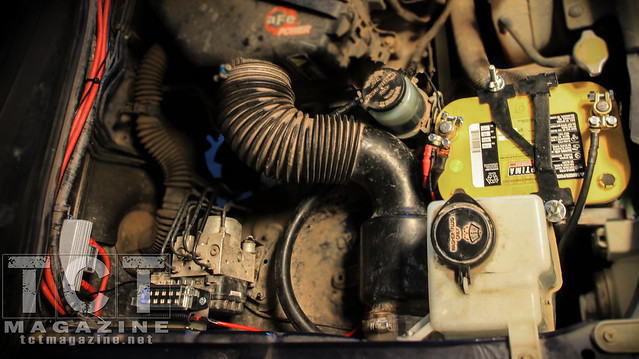
The second positive cable running along the firewall in this picture is for my existing auxiliary fuse block. The main battery has connected: starter, main fuse block and winch. The secondary battery has two auxiliary fuse blocks connected to run a variety of items (currently includes HID headlights, light bar, ditch lights, rock lights, bed lights, fog lights, and a power outlet in the bed for a fridge and other items).
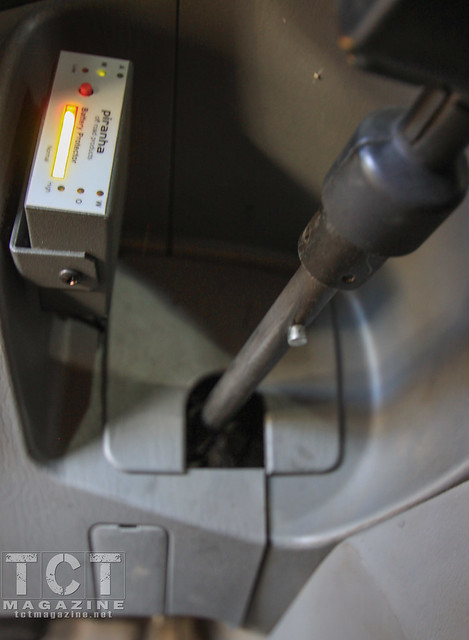
Final step will be to install the Piranha DBM4 battery monitor/protector. I chose to mount mine using Velcro next to my parking brake. This location is out of the way, yet still visible.
This Piranha dual battery system can be found at Outback Proven, http://outbackproven.com and don’t forget to follow them on Facebook for their latest updates.
For more information on Piranha Off Road and the wide variety of off-road products they offer, visit their website, http://www.piranhaoffroad.com.au
All Photos!
[flickr set=72157645771272197]
To get your copy of the July 2014 issue of TCT Magazine:
FIND US ON:


